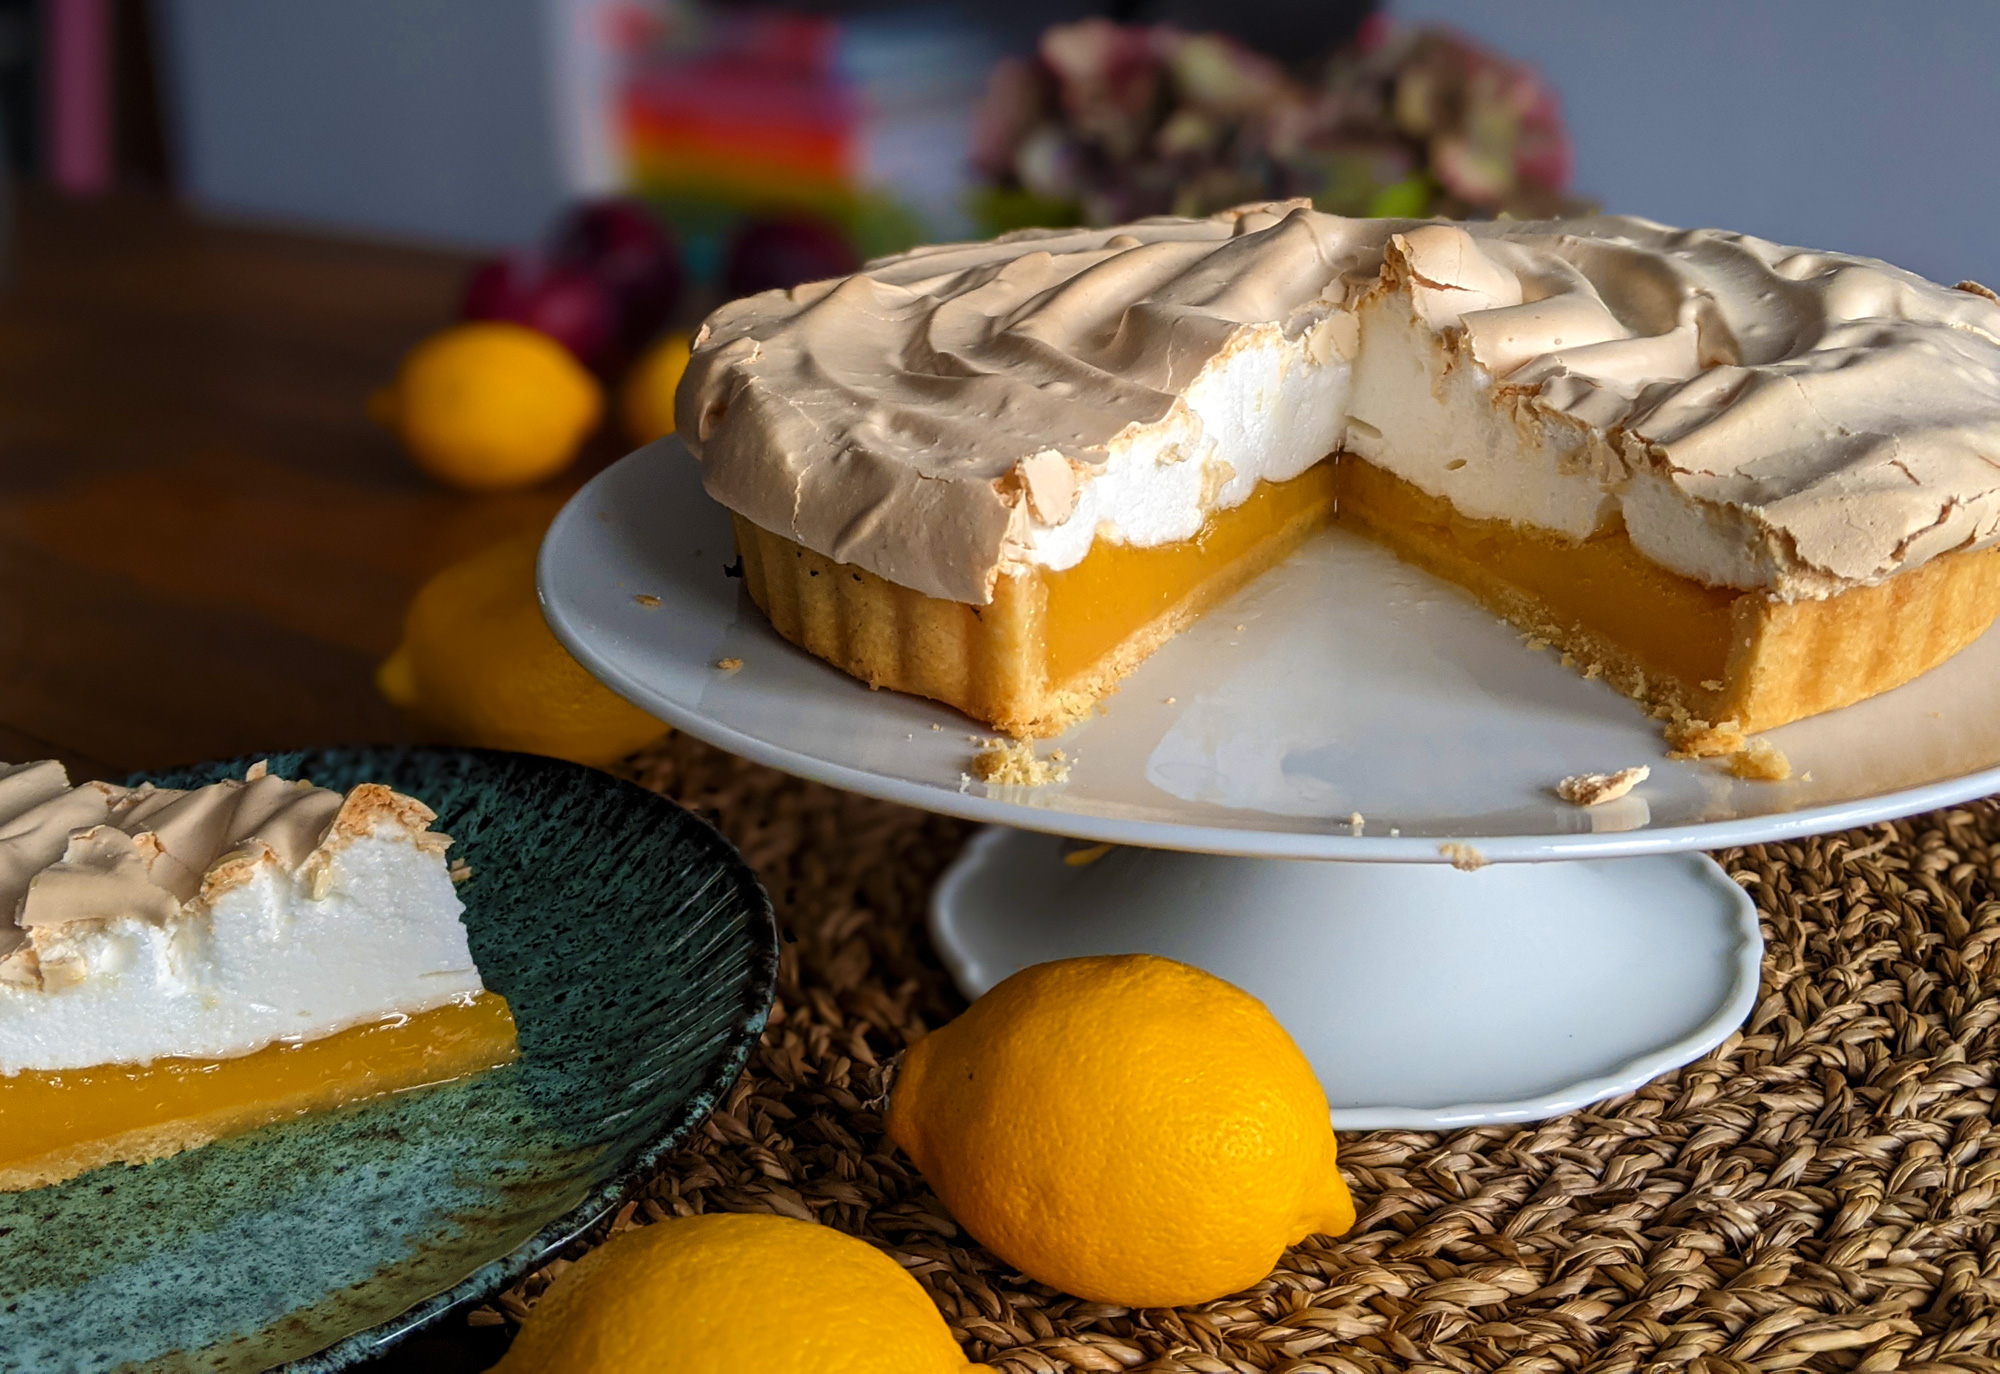
A flakey, buttery gluten free shortcrust pastry case filled with set lemon curd and topped with sweet marshmallowy meringue, beholllllld my gluten free lemon meringue pie! This classic dessert is wonderfully zesty yet sweet, encased in comforting pastry and always a crowd pleaser.
It’s a dessert I would happily enjoy year-round, but definitely have strong spring-summer vibes with all that lemony loveliness. I’ve made the curd in this lemon meringue pie quite tart, so that it balances well with the sweet meringue. I hope you enjoy it as much as we do!
Can I Use Shop-Bought Shortcrust Pastry?
You could use shop-bought shortcrust for the base if you prefer, but honestly my Gluten Free Shortcrust Pastry recipe is so easy and quick to make. Give it a try and you will not regret it! It tastes so much better than the shop-bought gluten free varieties too.
Can I Make Any Elements in Advance?
Yes, you can make the curd up to three days before and store it in the fridge until ready for use. Simply rewarm in a saucepan and then follow the method in the recipe.
The shortcrust dough can also be made in advance and will be okay in the fridge for up to 24 hours. When you come to use it, you may need to add a couple of drops of water and knead it well to get a nice pliable texture again. A longer chill time causes it to become a little crumbly, but the addition of a tiny bit of water restores it.
Can I Make Any Ingredient Substitutions?
For meringue topping no, you need to stick very carefully to the quantities and ingredients specified or you will have a different end result. Meringue is relatively straightforward to make, but isn’t very forgiving is you change things up.
The lemon curd filling should work well with lactose free butter (the block not the spread, the latter contains more oil). It may also work with dairy free spread but the end consistency may be runnier so you’ll need to play around to see what works for you.
For the shortcrust, I know followers have had success making it lactose free and dairy free. The Stork Baking Block is a good dairy free option to replace the butter. For lactose free, use the Arla LactoFree butter.
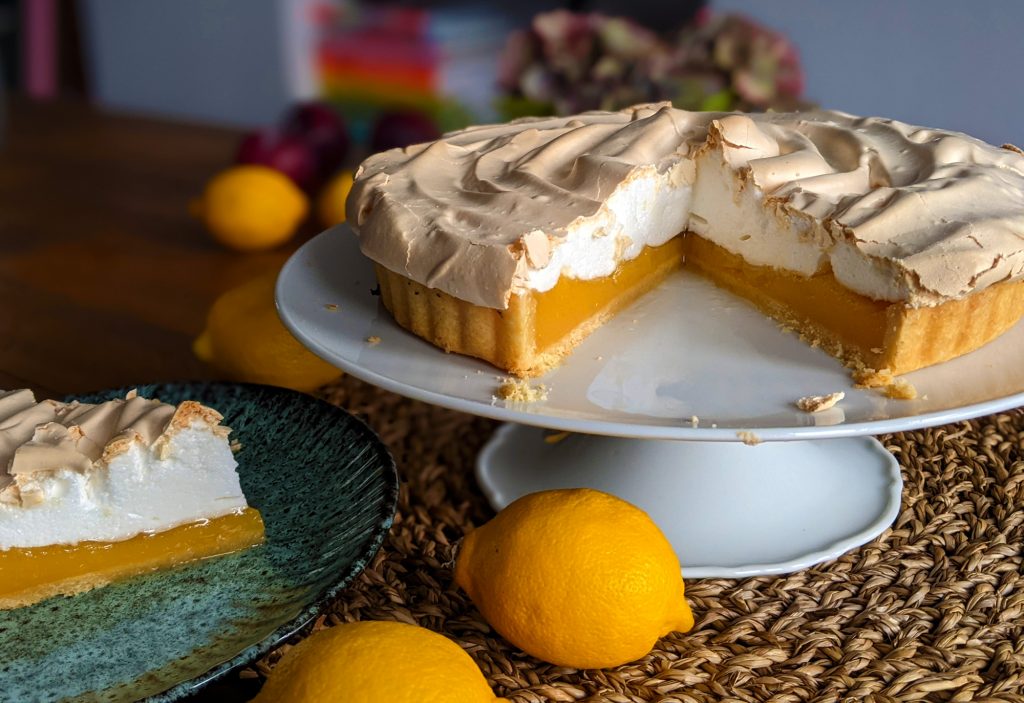
Gluten Free Lemon Meringue Pie Recipe
This gluten free lemon meringue pie serves about 6-8 people (or fewer if you want second helpings…which you will!).
You’ll find a full method below, with some pictures to guide you through the recipe. If you have any questions feel free to get in touch. You can contact me at [email protected] or message me on Instagram/Facebook @myglutenfreeguide.
Lastly, if you enjoy this gluten free lemon meringue pie, I would be really grateful if you could leave a star rating or review on the recipe card below. Thank you!
Laura xxx
Gluten Free Lemon Meringue Pie
A zesty gluten free lemon dessert with sweet meringue topping and homemade shortcrust pastry shell. A British classic and always a crowd pleaser.
Ingredients
For the lemon curd filling:
- 4 large egg yolks, and 1 whole egg
- 160g caster sugar
- 130g unsalted butter
- 130ml lemon juice (approx 2 lemons) and zest of 2 lemons
For the shortcrust pastry:
- 200g gluten free plain flour
- 1 tsp xanthan gum
- 40g ground almonds
- 1.5 tbsp caster sugar
- 120g unsalted butter, chilled
- 1 large egg
- 1-2 tbsp water
For the meringue topping:
- 4 large egg whites
- 200g caster sugar
- 2 tsp cornflour
Instructions
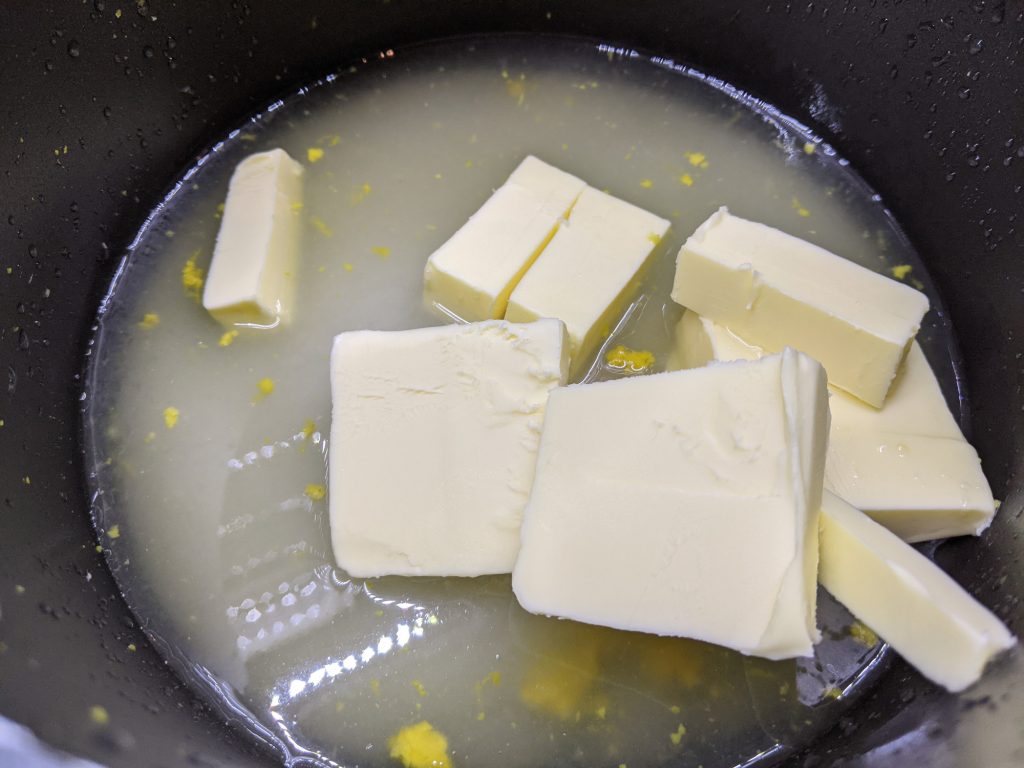
- First, we'll make the lemon curd for the filling. Add the 130g butter, 160g caster sugar, 130ml lemon juice and lemon zest to a small saucepan and heat gently until the butter has melted.
- In the meantime, add the yolks to a mixing bowl and whisk until smooth.
- Place a fine sieve over the mixing bowl and tip the contents of the saucepan into the bowl with the yolks (this removes the lemon zest, which you can discard), whisking the mixture immediately to incorporate the eggs.
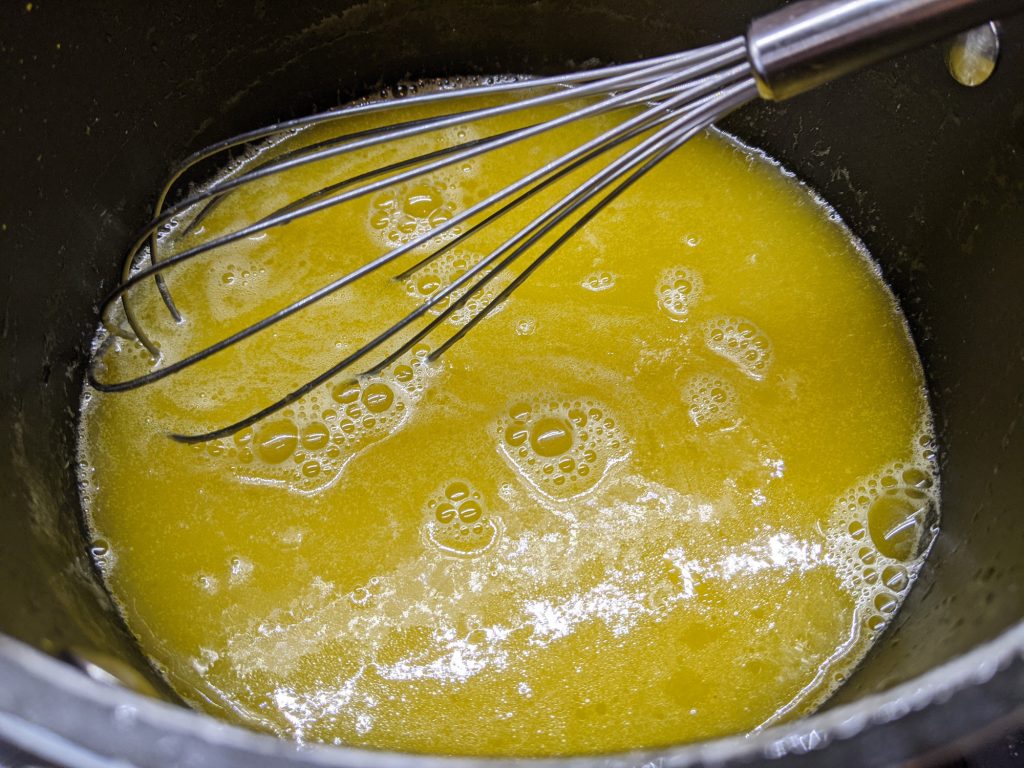
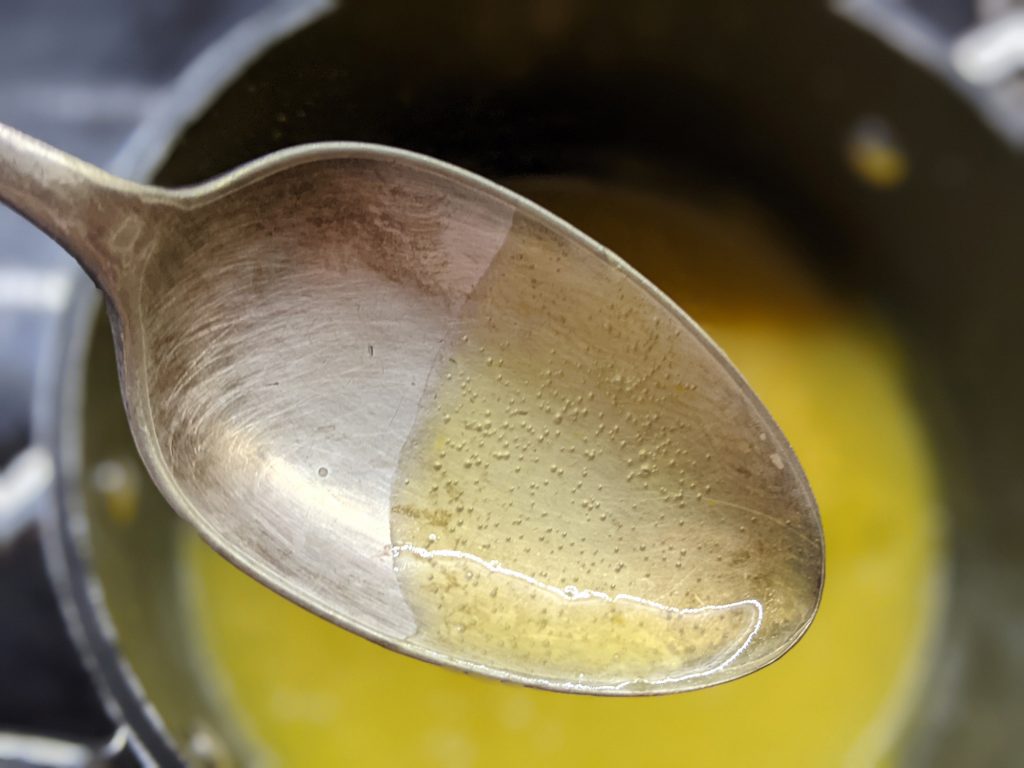
- Now pour the contents of the bowl back into the saucepan. Bring to a low boil and then simmer very gently for 8-10 minutes until the curd has thickened slightly. It should coat the back of a spoon when dipped into the pan (see image below). Set aside. [Note, you will have the 1 whole egg leftover, this will be added later].
- Onto the pastry! Sift the 200g flour, 1 tsp xanthan gum and 1.5 tbsp sugar into a large mixing bowl, then add the 40g ground almonds. Stir to combine.
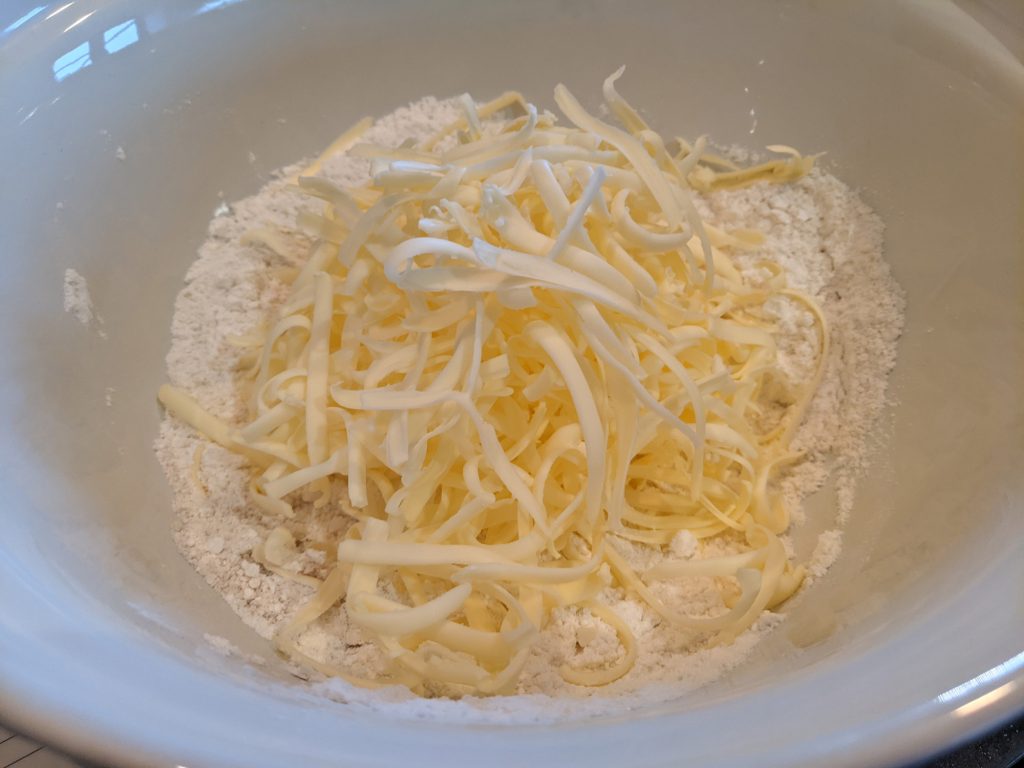
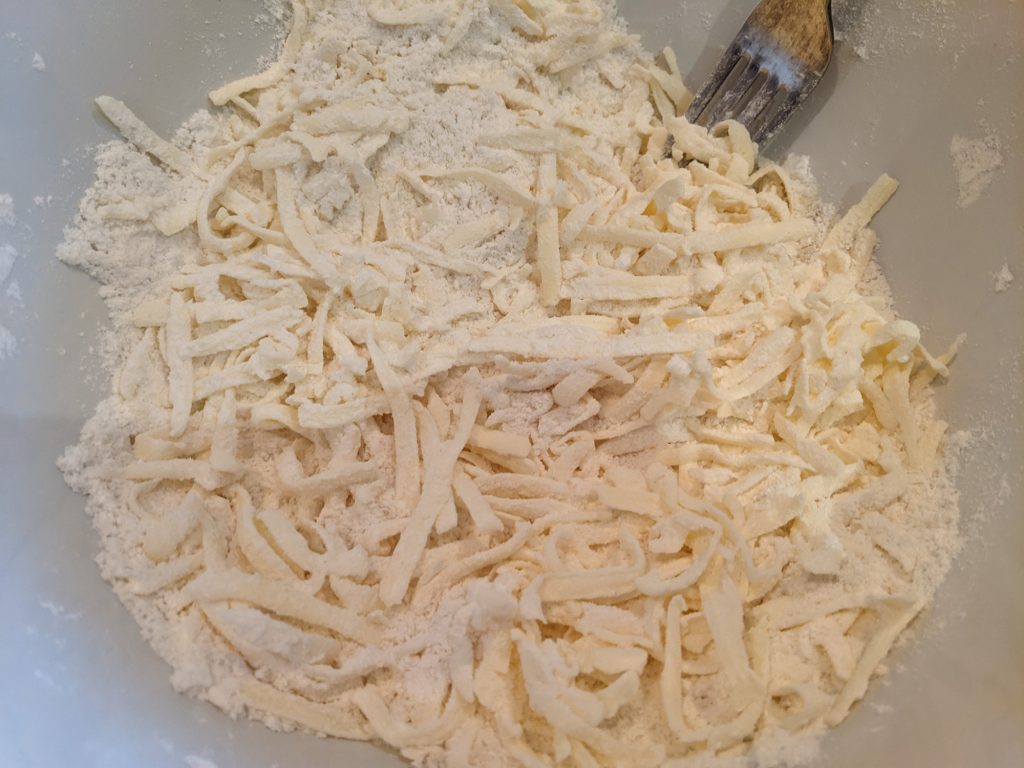
- Grate the 120g chilled butter into the bowl (use the large grater setting on a cheese grater) and toss the butter strands through the flour with a spoon. Once the butter is coated with flour, use your finger tips to rub the butter into the flour until you have a coarse breadcrumb-like texture.
- Beat one large egg and add to the bowl. Stir through with the spoon.
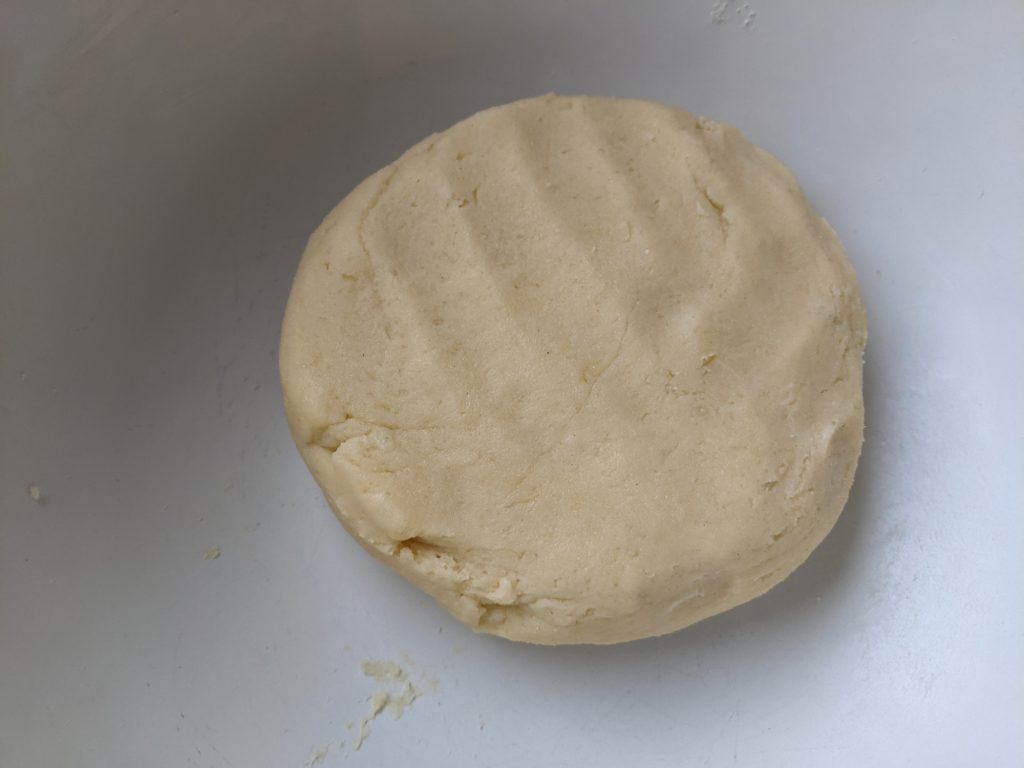
- Add 1 tbsp water (you may not need the second) and use your hands to bring the ingredients together to form a nice ball of dough. It should come away from the sides of the bowl and be a slightly sticky dough, but will form into a ball. If it is still a bit crumbly, add the second tbsp water and work to combine.
- Take a large piece of greaseproof paper (approx 30cm long) and place the ball of dough on the waxed, non-stick side. Press it down gently with your hands to form an oval shape a couple of cm thick. Now fold the paper over to cover the other side of the dough and then fold the edges over so that you have a nice little dough parcel. Now place into the fridge to chill for 30 minutes.
- Once chilled, preheat your oven to 180C (fan) and lightly grease a 24cm loose-bottomed tart tin.
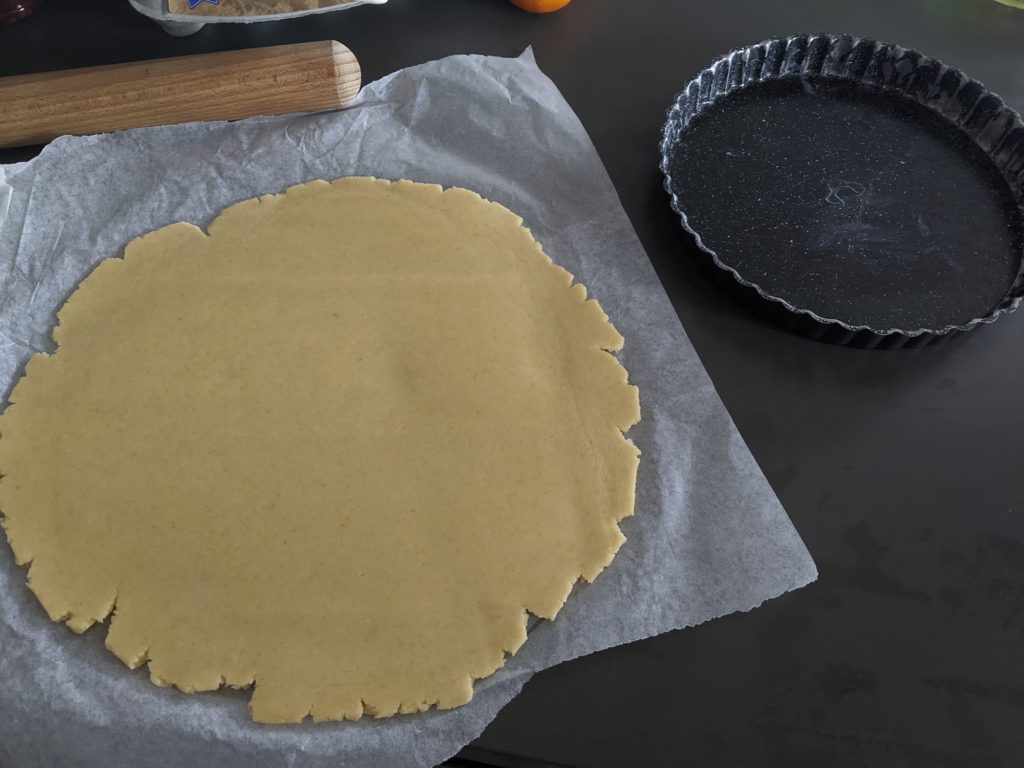
- Unwrap the chilled dough and place the greaseproof paper on your worktop. Dust well with gluten free flour and pop the dough on top. Place a 30cm piece of cling film on top of the dough.
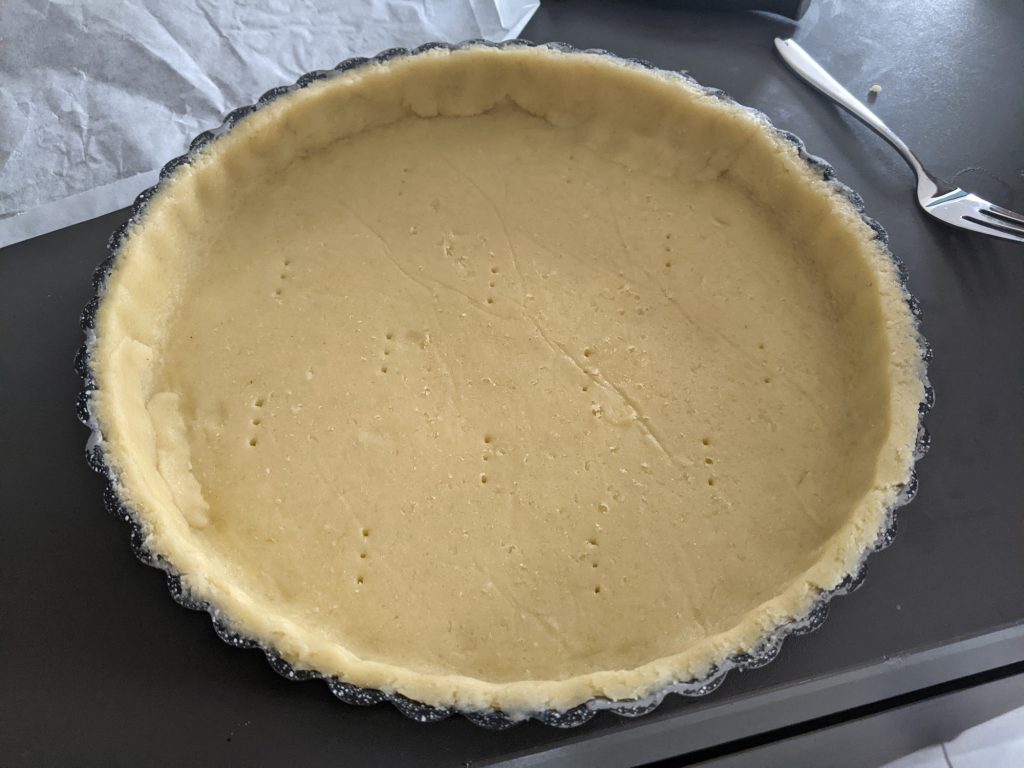
Use a rolling pin to roll the pastry out to 0.5cm thick in a large circular shape - wide enough to completely cover the tart tin and sides. If there's any breaking or uneven edges you can just patch them up easily with other pieces of pastry. - Carefully ease the side of the pastry onto the floured rolling pin, then carefully slide onto the tart tin. OR you can also flip the greaseproof paper and dough over onto the tart tin, then carefully peel the greaseproof off. Gently tuck the pastry into the tin, pressing down to completely cover the base and around the sides. Use a sharp knife to slice off any excess pastry (you can save these offcuts in the fridge for later use). You should be left with a nice neat edge.
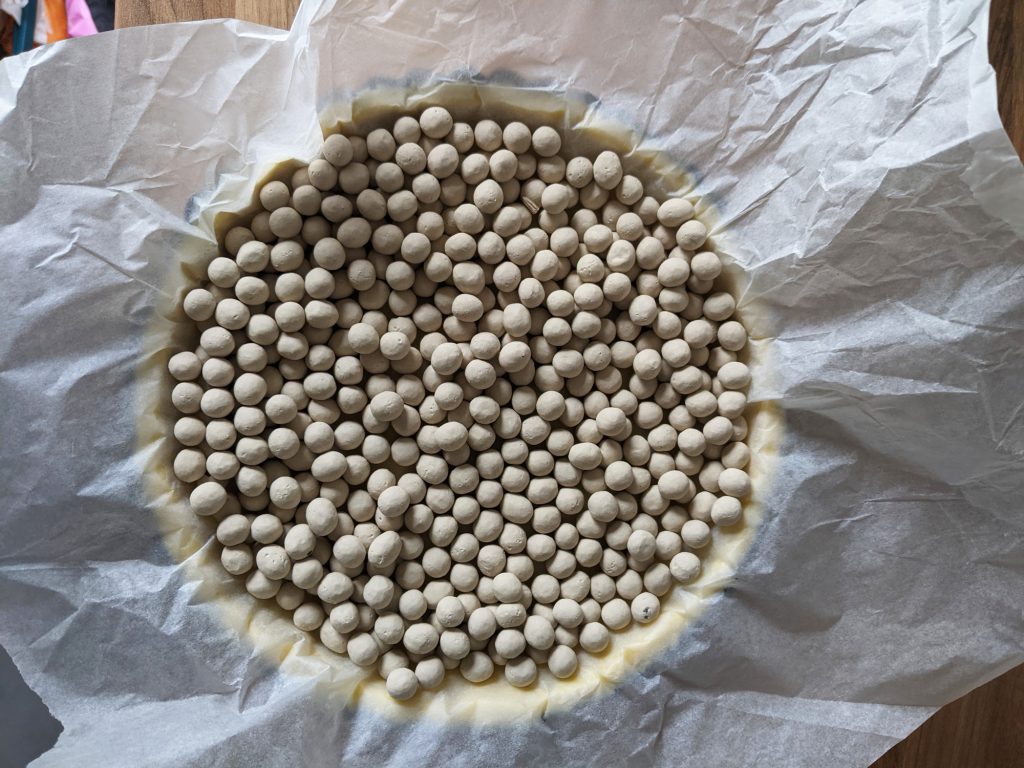
- Use a fork to gently prick holes in the base of the pastry tart. Place the used greaseproof paper on top of the pastry and tin, adding baking beads to fill (see image below) so that you can "blind bake" the tart. Place it into the oven to blind bake for 10 minutes at 180C.
- Now remove the tart case from the oven, lift out the baking beads and greaseproof paper and return to the oven (uncovered) to bake for 10 minutes at 160C (fan).The shortcrust case should now be cooked through (add 5 minutes to the cooking time if it still looks raw on the bottom). Remove from the oven and place onto a wooden board or heatproof mat.
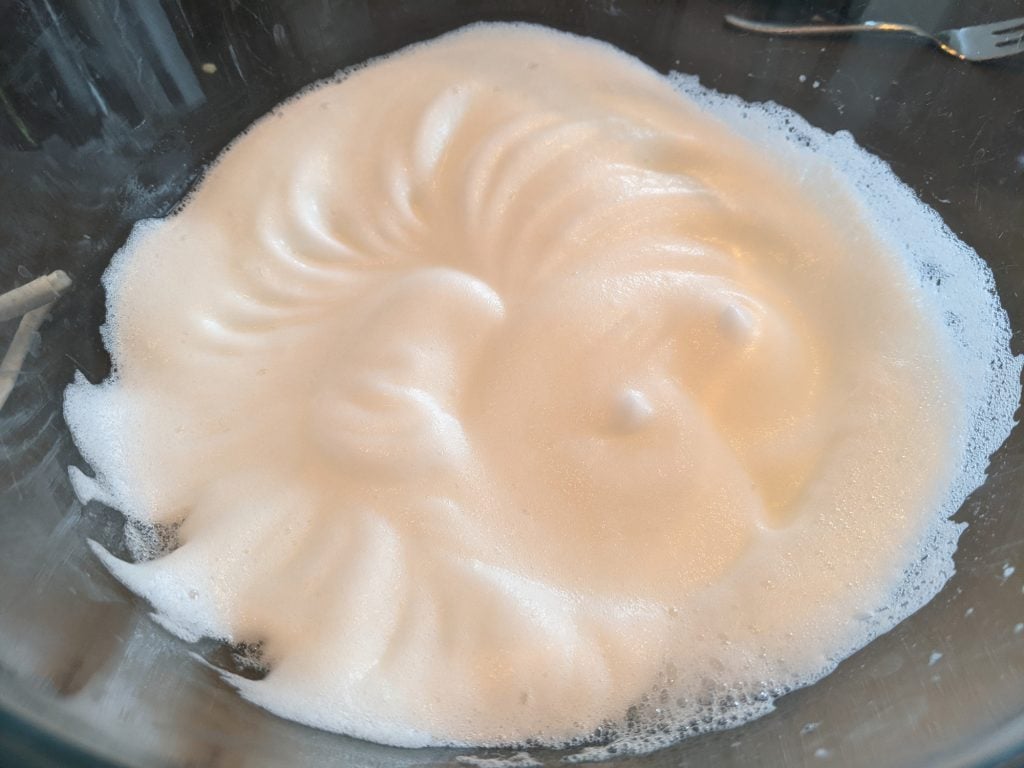
- Finally, we'll make the easy meringue topping and then assemble and bake the pie. In a clean mixing bowl, whisk the eggs whites with an electric whisk for approx 2 minutes until you have soft peaks (the egg white will be foamy and when you lift your whisk out some foam will hold its shape in a peak on top of the surface).
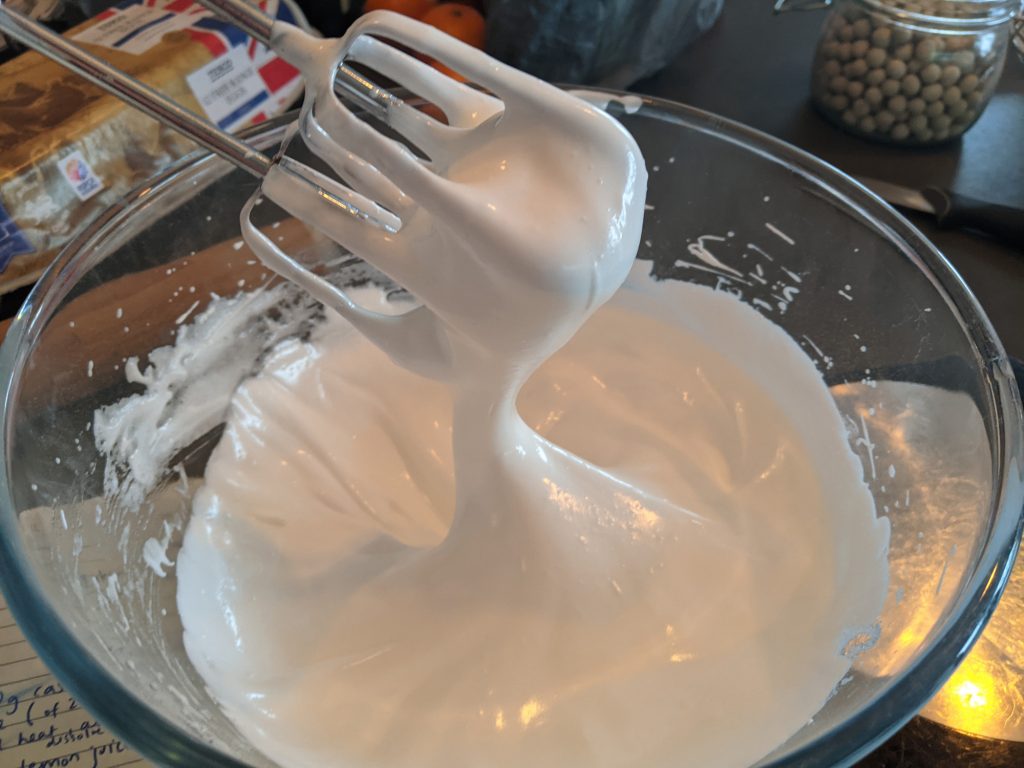
- Sift the caster sugar into the egg whites and then whisk again for a couple of minutes until the mixture is thick and glossy. Sift the cornflour into the bowl and whisk again very briefly (15 seconds) to combine it.
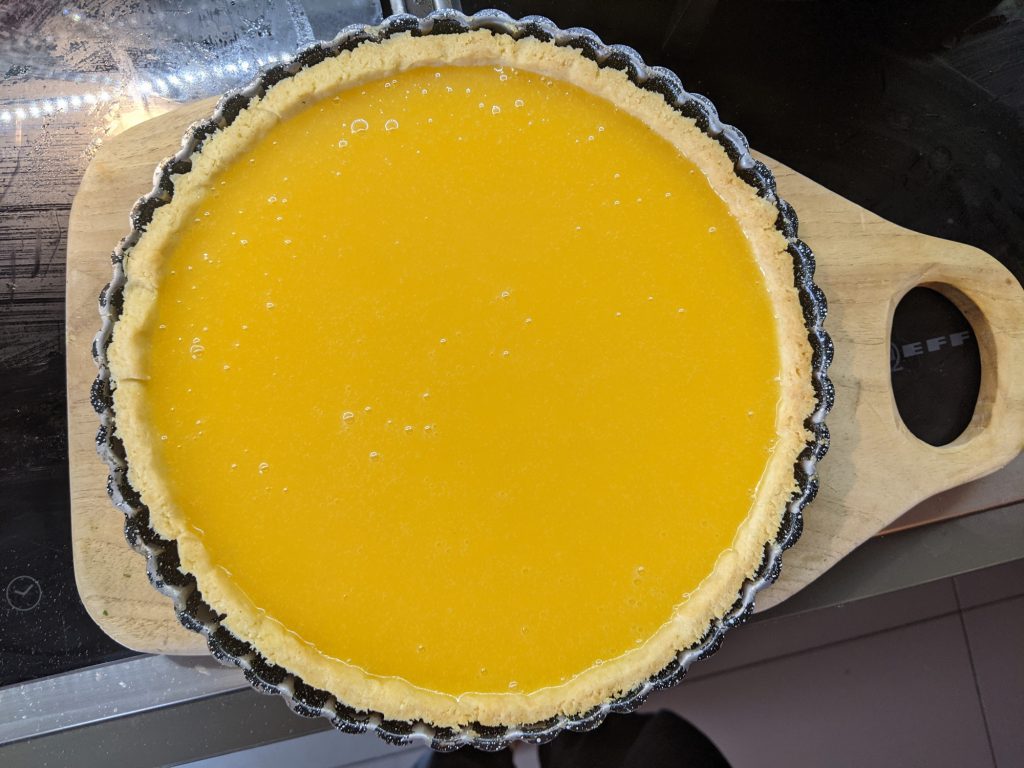
- Turn the oven up to 180C (fan) and let's assemble the pie! Tip the lemon curd into a bowl and add the whole egg. Whisk briefly with a fork to combine and you should have a lovely smooth lemon filling. Pour the filling into the pastry case.
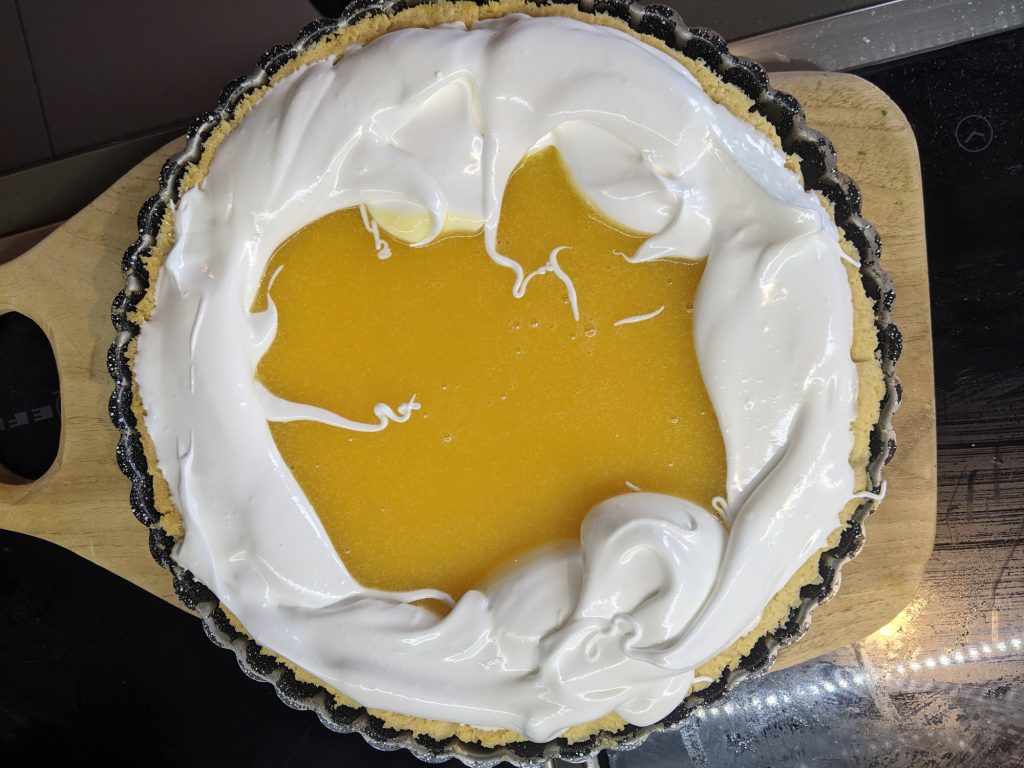
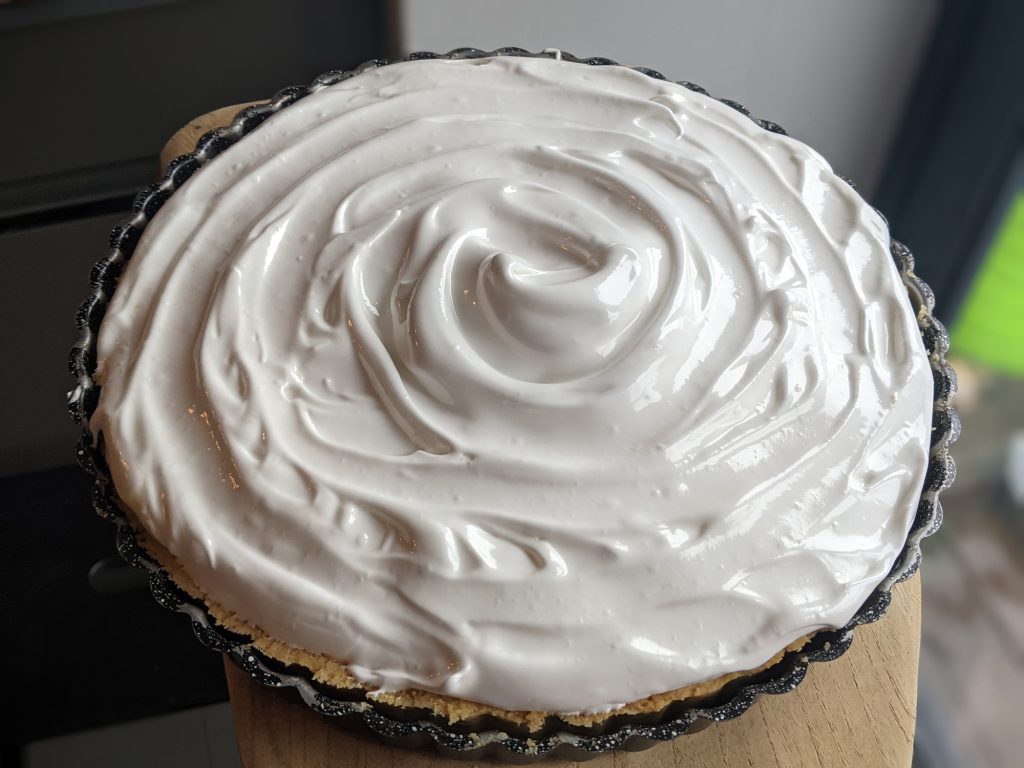
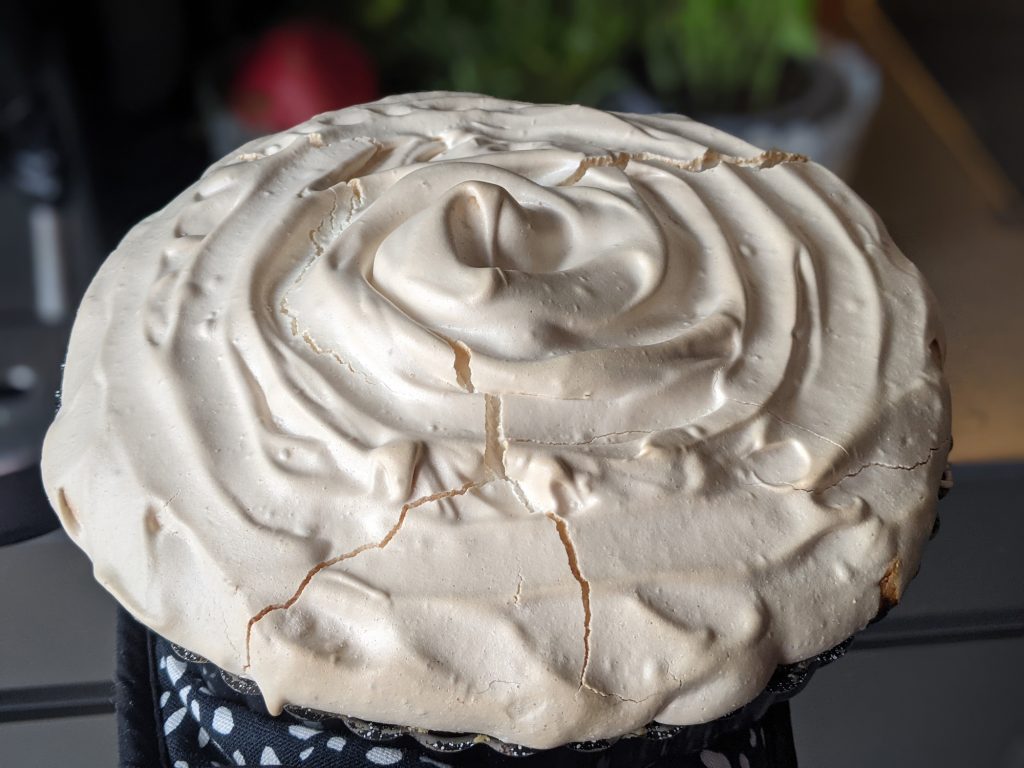
- Now spoon the meringue on top of the pie, starting at the edges to anchor it in place (see image below) and working towards the centre to create a meringue mound on top of the pie.
- Carefully transfer it to the oven to bake at 180C (fan) for 20 minutes. Then remove and allow to cool before serving (slightly warm is okay, but the filling might be a little runny, so allow to cool completely for beautiful lemon meringue slices). This dessert is best enjoyed on the day of baking, but you should store any leftovers in the fridge. Enjoy!
For more delicious desserts, why not try some of my other gluten free recipes or bookmark your favourites for later:
Happy Baking! Laura xxx

